Armstrong Home Theater
Equipment List | To-Do | History and Construction | DVD Database | Original Home Theater
The goal in building this home theater was to have something usable as soon as possible without breaking the bank, and to use quality components for a system that could be built on in the future. We had the theater up and running relatively quickly, but there is tons more work to go to get this thing into the final shape we want it in (though maybe it can never actually be considered done). So far it has been a fun and rewarding project. The "wow" factor is still there for me and it's really fun to see peoples' reactions the first time they see this crystal-clear picture. Movies have never looked better!
The equipment list is the first thing on the page, but maybe more interesting is the History and Construction section where you can see what we've been through to get where we are today.

Equipment List
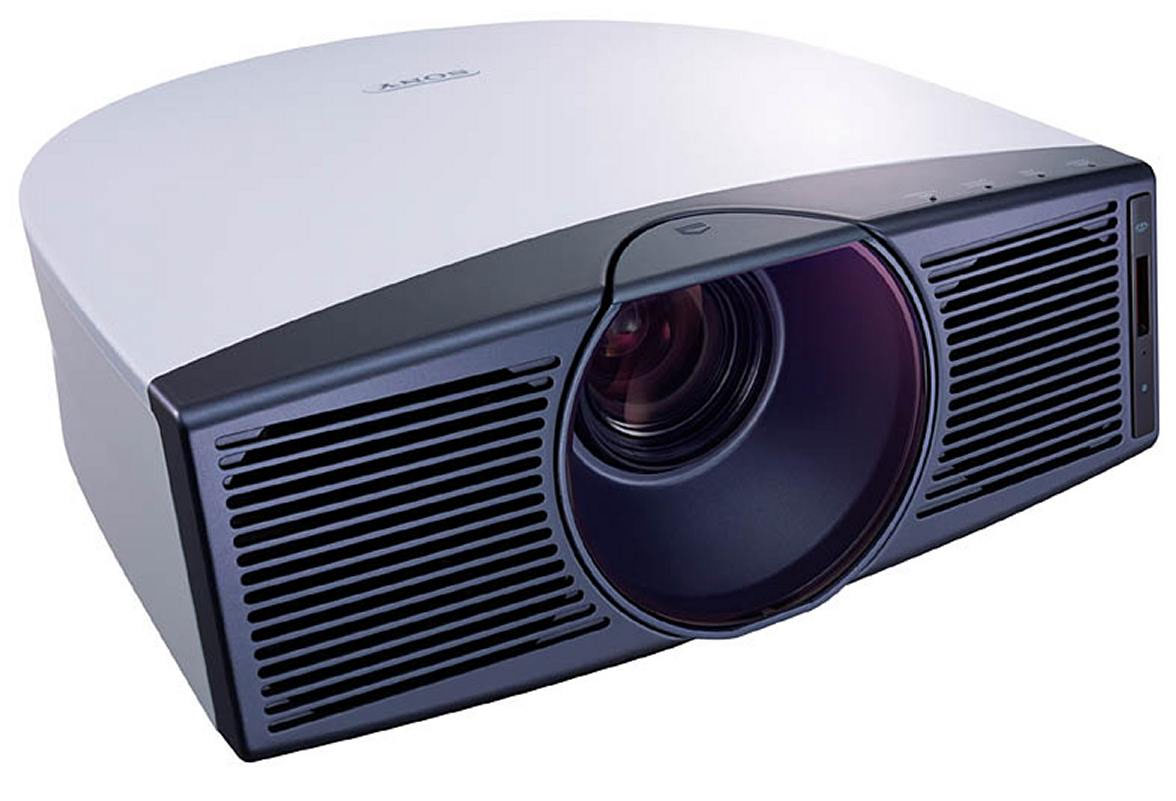 |
Sony VPL-HS20 Projector | I spent weeks and weeks trying to decide which
projector to get. This Sony was more expensive than the Sanyo and Panasonic
models I
was considering, but I think it was worth the extra money. The picture with DVDs is
excellent, but when you run a true HDTV source to it, prepare to be blown
away!
Click here to read lots of reviews from normal folks like me. Powerstrip Timing Parameters for near-native resolution of 1376x774. |
||||||||
|
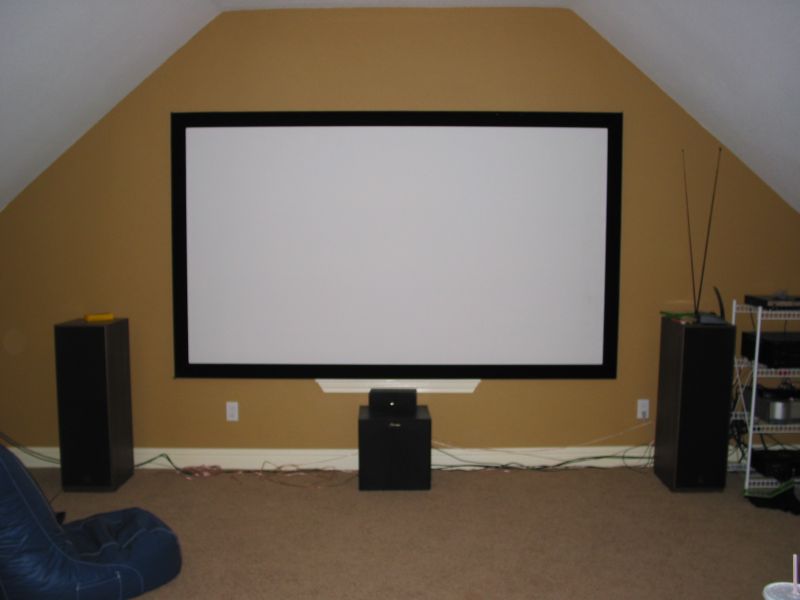
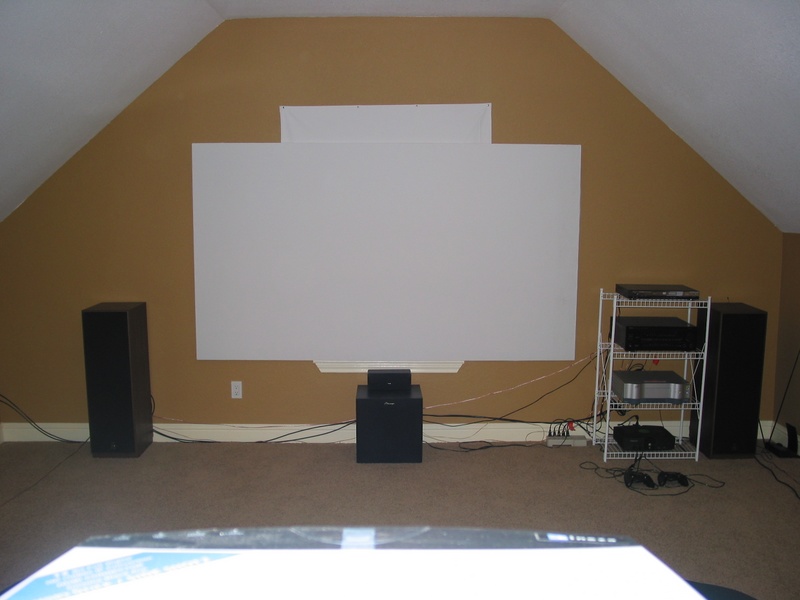
D-I-Y 110" Screen with Black Velvet Frame | I built this screen myself and even on close inspection, it
looks like a professional piece of equipment. This is a very good screen
for a tiny fraction of the $1600 price that home theater stores were quoting
me. I
saved tons of money and had fun doing it. See
below for construction photos.
The screen is 110" diagonal and made from blackout cloth on a wooden frame. I had read that using blackout drapery cloth was an inexpensive way to go, and I asked my wife to pick up a few yards for me next time she was at a fabric store. To my surprise and delight, she went into the closet and grabbed a bolt that she'd had sitting there for years. There was plenty of cloth for the 96"x54" size I needed to get 110 diagonal inches with a 16x9 aspect ratio. |
||||||||
|
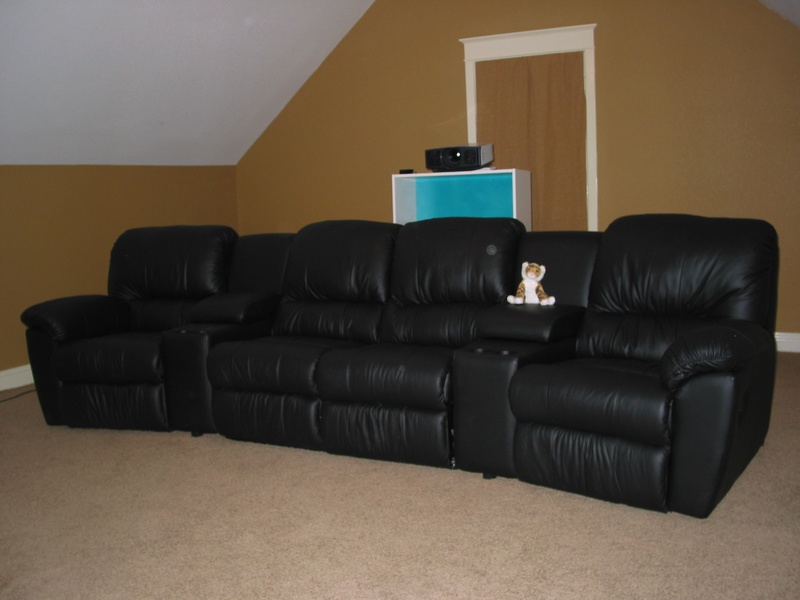
Palliser Home Theater Seating, "Melrose" Edition | Very comfortable leather recliner group with cup
holders and storage-console wedges. The two center chairs are connected
together in a "love seat" configuration. Originally, I
wanted wedges between all the chairs, but I thought space along the walls
would be too tight.
Purchased at "Billiards and Barstools" which had a surprisingly large selection of home theater seating. |
||||||||
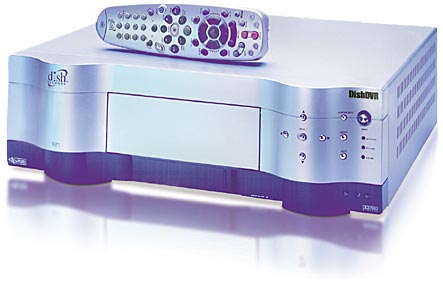 |
DishDVR 921 - Dish Networks' HDTV satellite receiver and digital video recorder. | Another big-ticket item that seems to be worth it. Has 2 satellite tuners and 1 over-the-air (OTA) HDTV tuner. I can record up to 3 shows simultaneously, and since a digital bit-stream is what's recorded, playback quality is identical to when the show was aired. This has a 250GB hard drive, but High-Definition material has so much data that it fills up pretty quickly. I still have some programs that I recorded the first week I got this thing. I've kept them to use as demos the first time I show people the theater because a good High-Definition program is actually more impressive than a DVD. | ||||||||
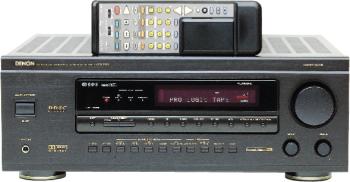 |
Denon AVR 2700 Dolby Digital Receiver | Back in 1998, I wanted something better than the Sonys and Pioneers
available at Best Buy and Circuit City. After lots of research, this is
what I ended up with. This was right before DTS started going mainstream,
so that is one feature I'm still without today, but this receiver has been
great.
Another feature I'm now wishing for is HD component video switching and upconverting. I'm using a couple of cheap manual Radio Shack switches for component and optical switching right now. I'd sure like to get the Denon 3805 to replace these things. |
||||||||
 |
Speakers:
|
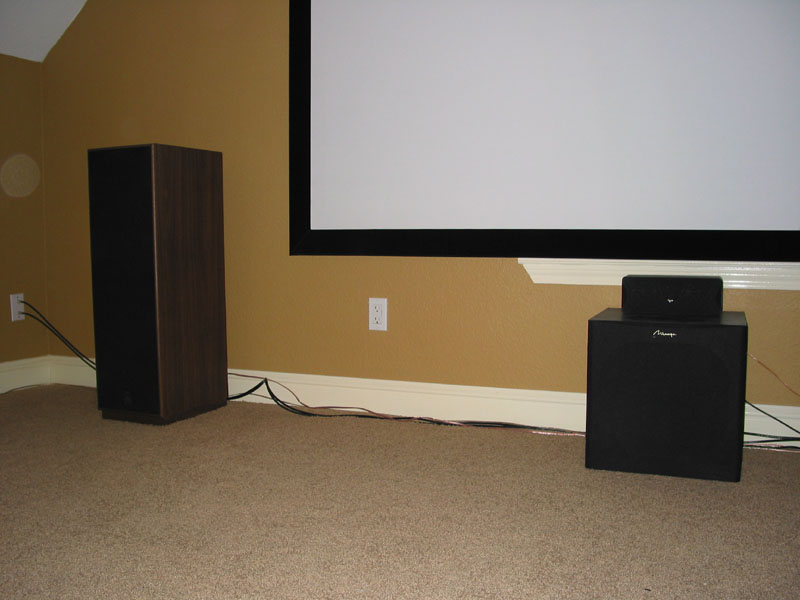
Originally, I had 2 more AVS-200s as my front speakers, but a friend sold me his M-760s to use in the front. I was worried about them overpowering the smaller center channel and rear speakers, but it turns out that they all work very well together. I got quite an upgrade in sound quality, especially with music. Now if I upgrade to a 7.1 AV receiver, I already have 2 speakers ready to add to the system. | ||||||||
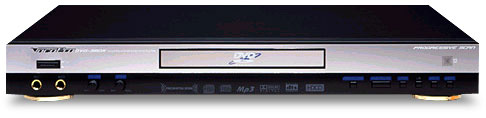 |
VocoPro DVG-380K Single Disc DVD Player-Progressive Scan with CDG Karaoke, MP3, and JPEG |
Got this specifically for Karaoke. Rarely used for DVDs, as I play them through my HTPC with a DVI connection to the projector. | ||||||||
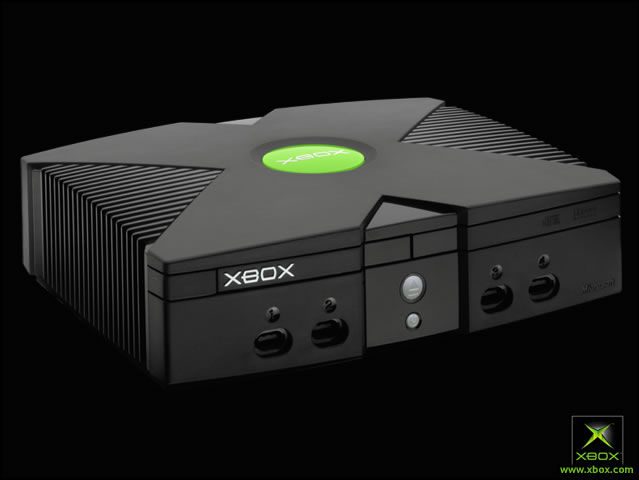 |
Xbox | One of the reasons I originally chose the Xbox finally pays off: HDTV! High Definition video games at 110" is a real treat. Almost all Xbox games will do widescreen 480p. Some games support 720p and 1080i. Lots of games have excellent Dolby Digital surround sound too. | ||||||||
|
|
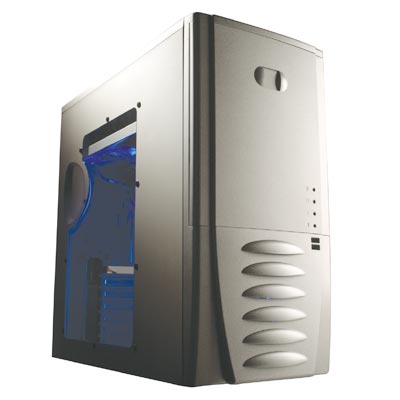
Home Theater PC | Connected to the projector with a 10' DVI cable. DVDs look
incredible, and DIVX movies and TV shows are surprisingly good too,
but lower bitrate files are really exposed when blown up so large.
This PC is starting to get a little out of date (Doom 3 plays like a slide-show), but it is still great as a video processor, music server, SNES and arcade emulator (Joust at 110"!), and web browser. |
||||||||
|
|
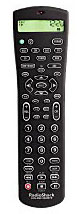
Radio Shack 15-2116 8-in-1 Learning Remote with LCD Function Display | Universal learning remote with JP-1 programmability. This
means I can connect the remote to my PC and a world of advanced
programming capabilities is opened up, allowing this $30 remote to perform
functions normally only found in the high-end touch-screen models.
See www.hifi-remote.com/jp1/ for JP-1 information. |
To-Do
 | Program my JP-1 remote with the discrete codes for the projector's component and DVI inputs. (It is a pain to cycle through all the available inputs each time I want to change from DVI (HTPC/DVDs) to Component (Satellite/Xbox). | ||||
|
Run surround speaker wire through the walls and clean up other wiring. | ||||
|
Mount the projector on the ceiling.
| ||||
|
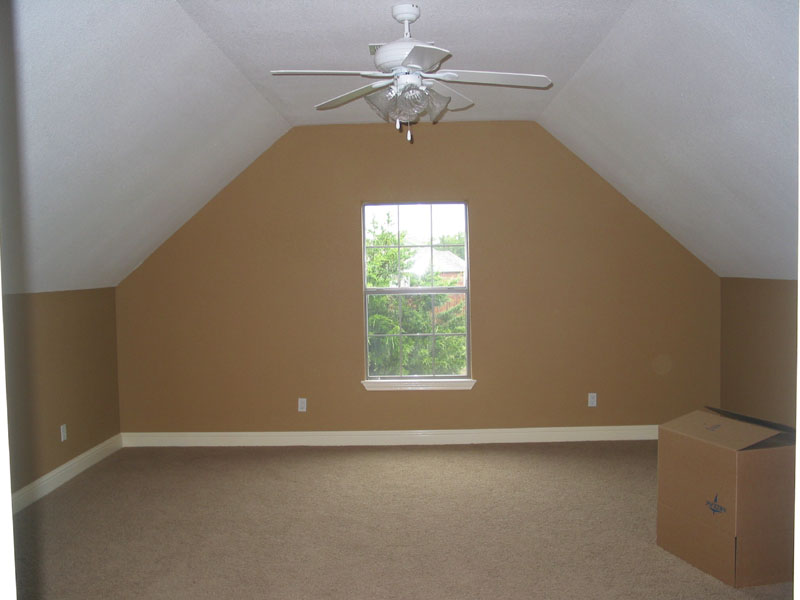
Paint room darker colors, particularly the wall behind the screen. | ||||
|
Install remote controlled lighting. | ||||
|
Build risers for second row of seating. This will be 2 sets of 2 chairs, with an aisle in the middle. | ||||
|
Build "stage" under screen and install curtains around the screen for a real theater look. | ||||
|
Build custom shelving for A/V components. | ||||
|
Build custom shelving for DVDs and games. | ||||
|
Upgrade to an A/V Receiver with HD component video switching. | ||||
|
Add various theater-themed decorations, including framed movie posters. | ||||
|
Sound-proofing. I don't know if this is possible, since this room is upstairs and the sound travels through the walls and ceilings, but loudness is a definite concern, since the master bedroom is directly beneath. |

History and Construction (From newest to oldest)
| Saturday, July 31st, 2004 |
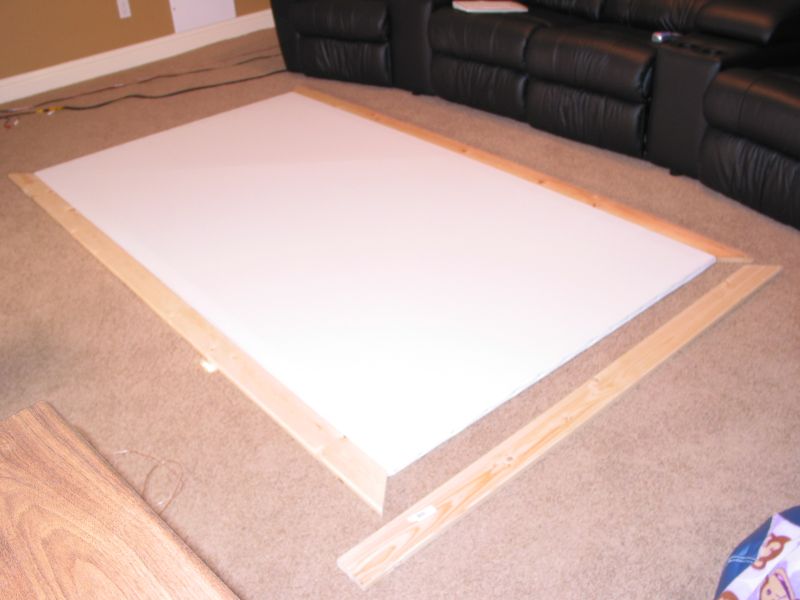
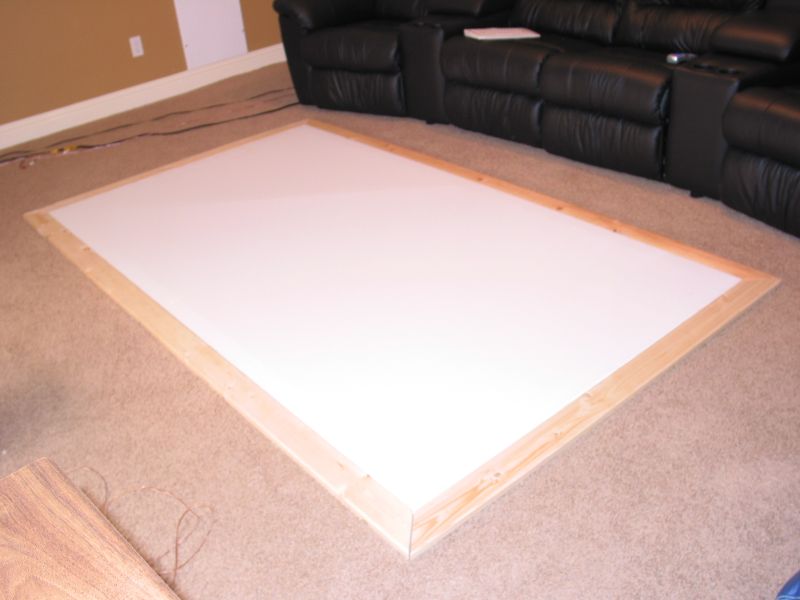
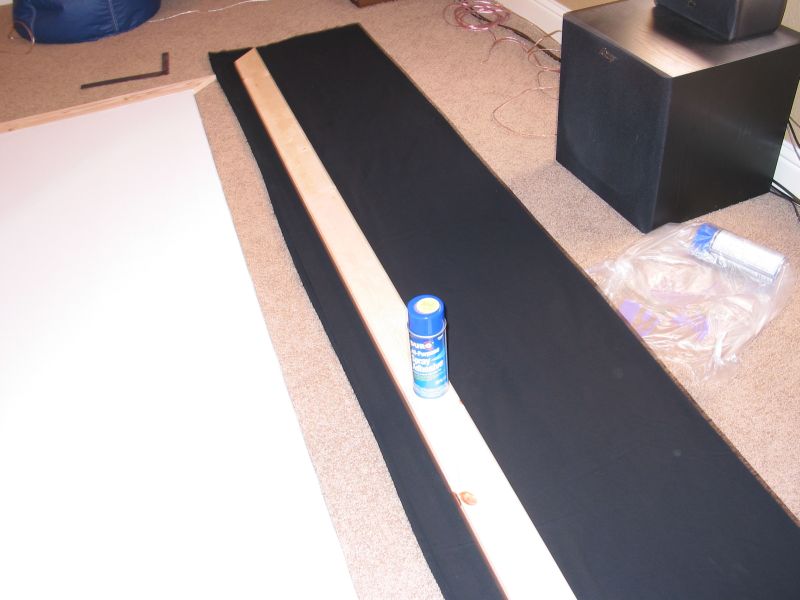
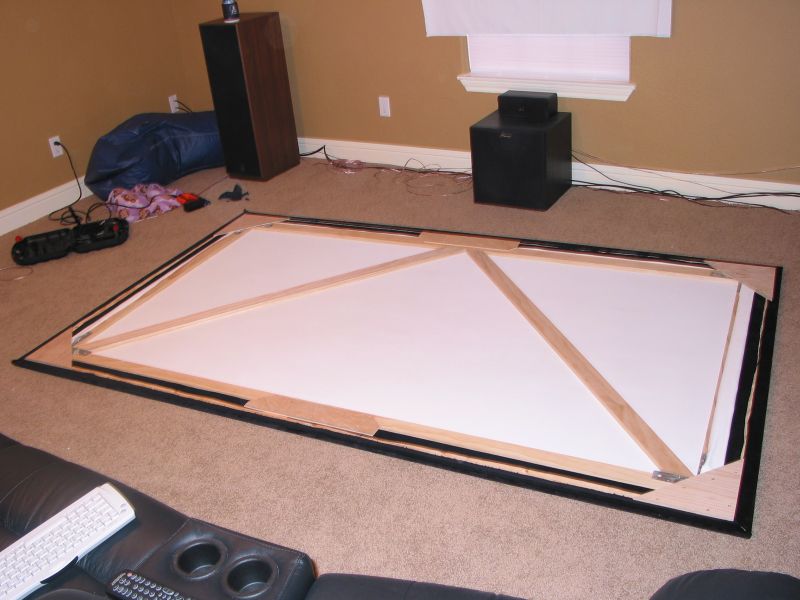
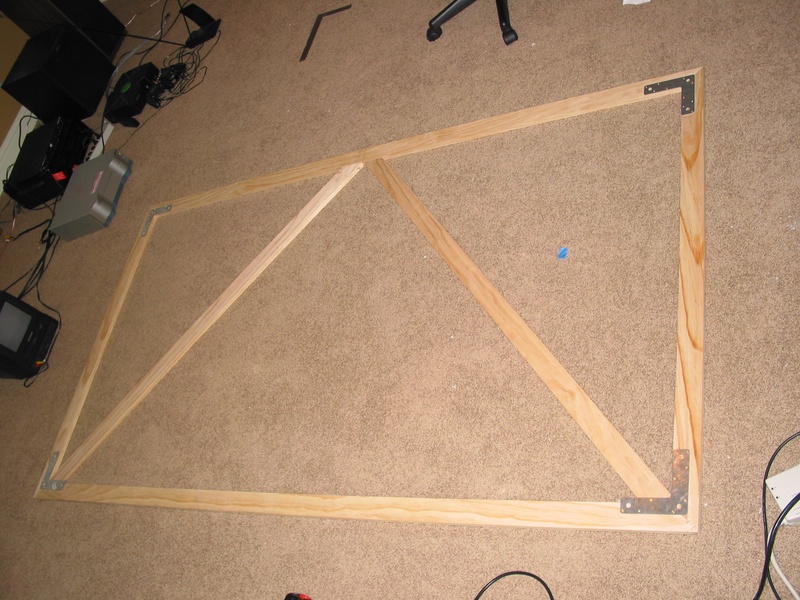
This frame is made of 1x4s and wrapped in black velvet. The velvet frame is attached to the original frame using homemade 1/4" plywood braces and brass wood screws.
|
| Saturday, July 24th, 2004 |
The drapery over the door has been replaced with something to match the planned future decor. |
| Thursday, July 15th, 2004 |
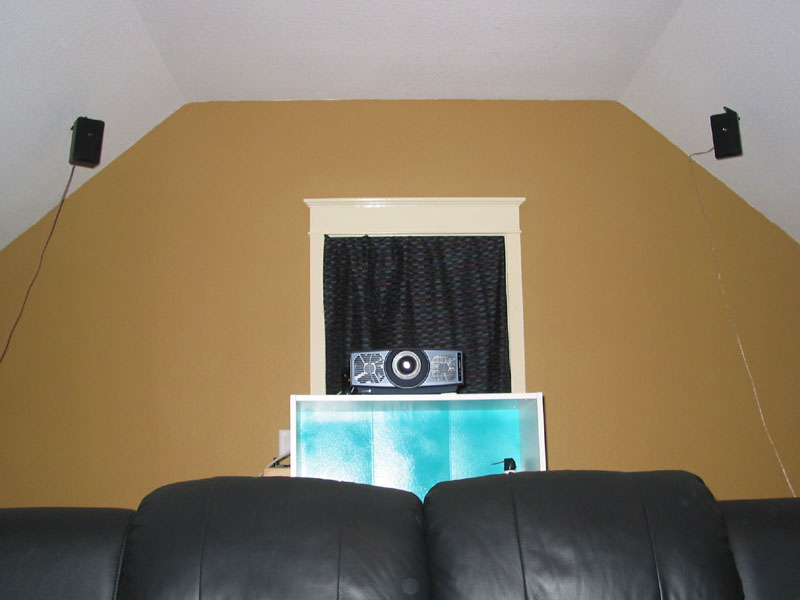
When they arrived a few days later, the delivery guys were so impressed with the theater room that they wanted a demo. Being young guys, they were most impressed with "MX Unleashed" running at 1080i on the Xbox. Previously, the projector was sitting on a cardboard box at just the right height to line up with the bottom of the screen. With these seats in the room, I had to raise the projector up onto a shelf. The height is not correct now, so I have to use the projector's "keystone correction" to get the picture aligned correctly, otherwise it has a trapezoidal shape (wider at the bottom). This situation is temporary until I can mount the projector on the ceiling. Then it will be upside-down and again aligned properly with the screen and keystone correction can be turned off. I'd like to do this soon, because digital keystone correction degrades the picture. I can't tell so much for movies or TV, but on the computer screen, it is evident that the fonts aren't as sharp as they should be. |
| Tuesday, July 6th, 2004 |
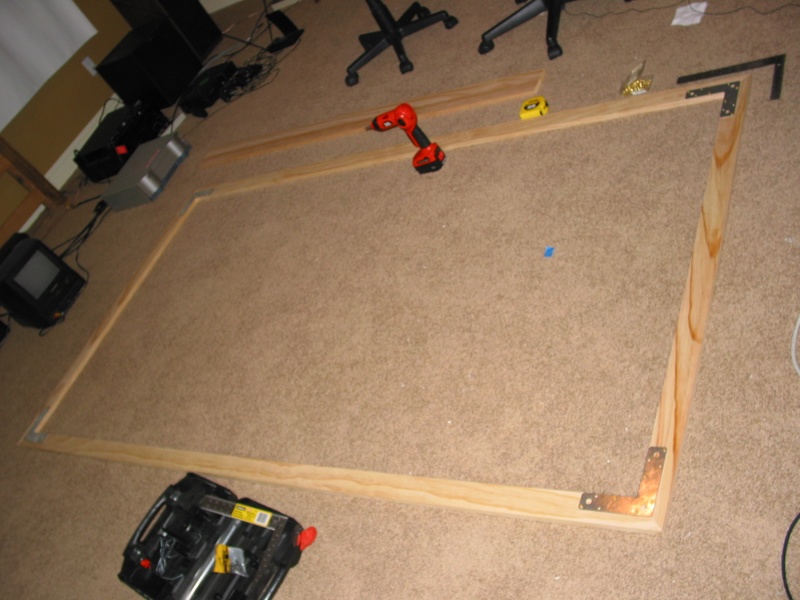
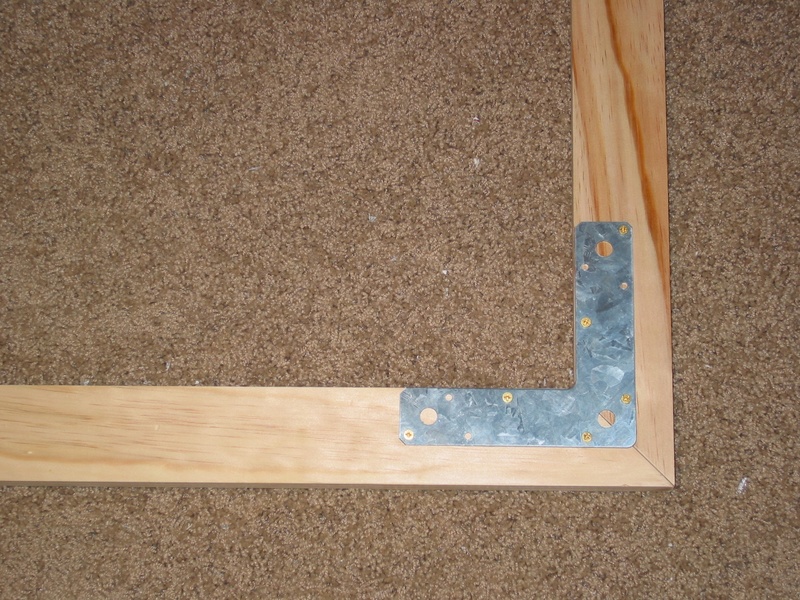
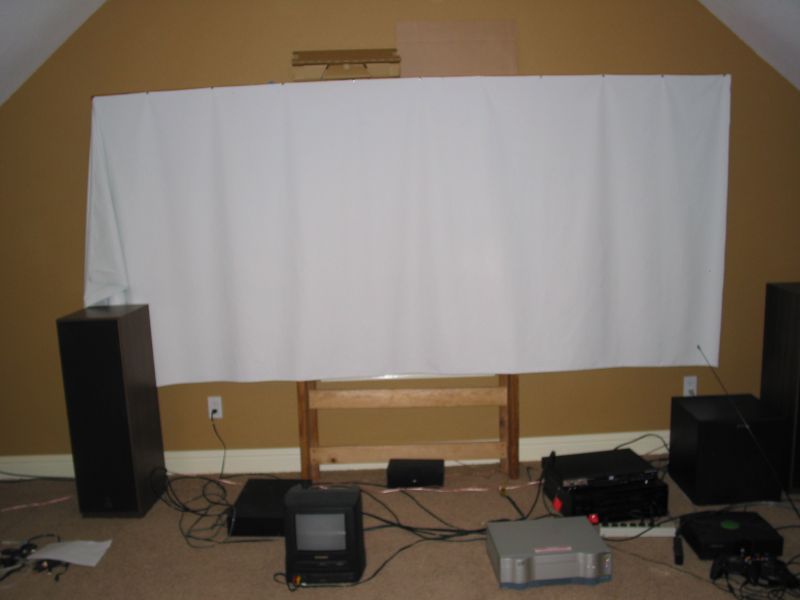
Built the Screen. Phase 1 of the screen was building the wooden frame and stretching the blackout cloth over it. I used 1x3 lumber to keep the frame light. I got the "premium" lumber at Home Depot, but even still I had to pick and choose to get boards that weren't warped or bowed. I used a miter box to cut the 45 degree angles, then screwed the pieces together with brass wood screws and angle braces. I bought an electric staple gun for stapling the screen material to the frame. Since the cloth was 54" wide and frame itself was 54" tall, a bit of stretching was required. An extra set of hands was definitely needed here (Thanks, Michelle!).
|
| Wednesday, June 30th, 2004 |
|
| Wednesday, June 23rd, 2004 |
|
| Monday, June 21st, 2004 |
|